
Last updated October 16, 2026
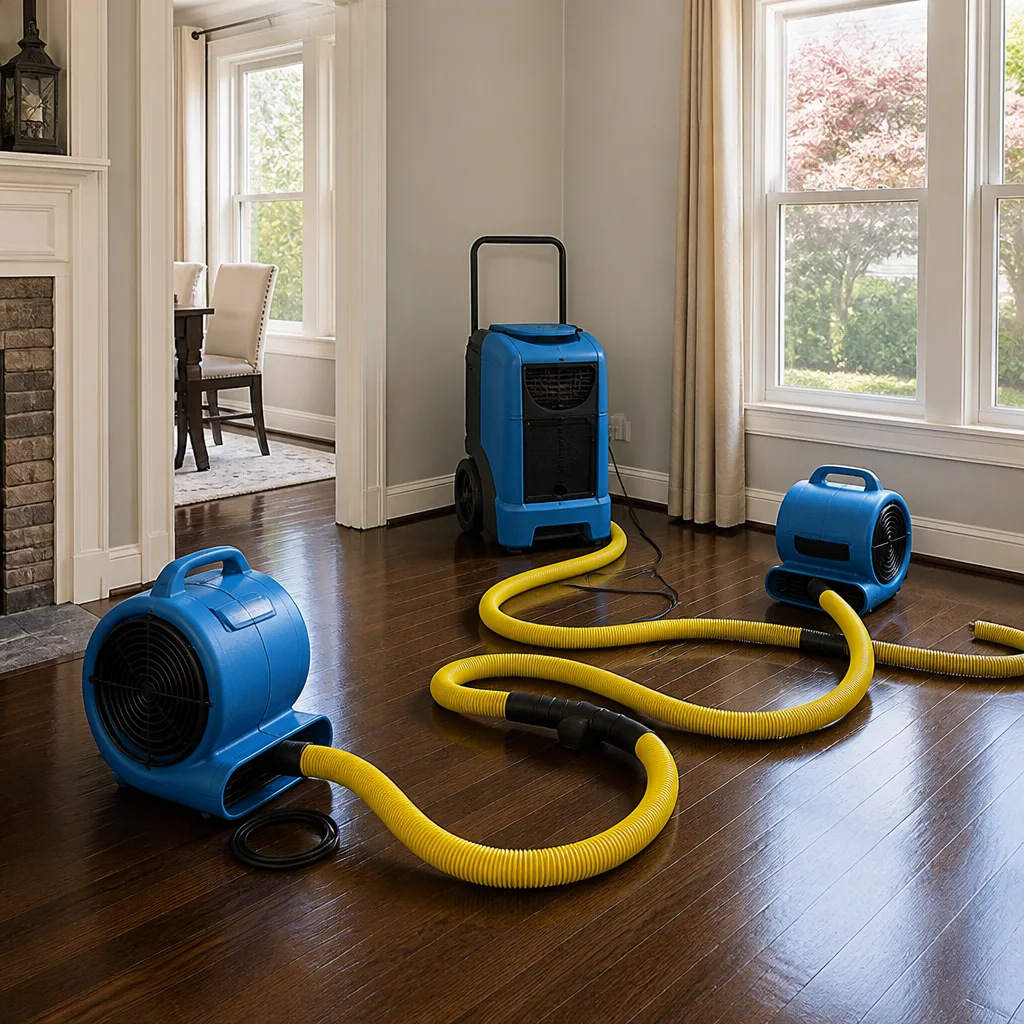 Water damage drying
 Fire & smoke cleanup
 Mold remediation
 Storm response
 Sewage cleanup
 Reconstruction
Free visual inspection and a written scope of work before any mitigation begins - photos, moisture readings, and drying logs go in your claim file
The scope we write is the scope we bill. Anything new gets shown to you, in writing, before we touch it.
Get your free estimateWater Damage Restoration Maintenance Checklist for Austin Homeowners
Most water damage claims in Central Texas don’t start with a dramatic storm rolling in off the Gulf. They start with a braided steel supply line under a bathroom sink quietly giving way on an ordinary Tuesday afternoon, or a cast-iron pipe in a 1970s slab foundation finally rusting through after 50 years of service. The insurance industry tracks this year after year, and the pattern holds: in Austin, the majority of residential water losses trace back to plumbing failures and slow leaks, not weather. That’s why a calendar-based maintenance checklist fails. Austin homes face specific failure mechanisms tied to our clay soil, our freeze-thaw cycles, and our aging housing stock. This guide replaces the generic seasonal punch list with a trigger-based approach: each action item is tied to a specific condition or event that actually causes water damage in our market. By the end, you’ll know exactly what to check, when to check it, and why each item exists in the first place.
Quick Answer
A water damage prevention checklist for Austin homeowners should be trigger-based, not calendar-based. The most effective routine combines a 5-minute monthly walkthrough focused on supply lines, water pressure, and moisture-prone areas, with specific action items tied to Austin’s weather events: the first 90°F week, the first freeze watch, and the first heavy rain after a summer drought. For Austin’s pre-1990 homes specifically, inspect cast-iron and galvanized supply lines quarterly, since these materials are the leading cause of hidden slab leaks in our market.
Restoration work we handle
Table of Contents
- Why Austin Needs a Trigger-Based Maintenance Model
- The 5-Minute Monthly Walkthrough
- Supply Line Failures: The Real Leading Cause
- Austin’s Pre-1990 Homes: Cast Iron and Galvanized Lines
- The Freeze Watch Protocol (Austin’s Distinct Winter Risk)
- Post-Drought Re-Saturation: Clay Soil and Slab Cracks
- Appliance and Fixture Checks Most Checklists Miss
- Common Mistakes to Avoid
- When to Call a Professional
- Frequently Asked Questions
Why Austin Needs a Trigger-Based Maintenance Model
Here’s the problem with the standard seasonal checklist: it assumes water damage risk follows a tidy spring-summer-fall-winter rhythm. Austin’s climate doesn’t cooperate with that. We get our heaviest rain in May and September, not on a predictable schedule. Our freezes arrive in fits and starts, with February 2021 as the stark reminder that a single hard freeze can rupture pipes across the entire metro area in 72 hours. Our summers stretch from May through October, and the clay soil beneath our foundations cycles through extreme expansion and contraction that generic advice from Minnesota or Florida simply doesn’t account for.
A trigger-based checklist ties each inspection action to a condition you can feel, see, or hear. When the first 90-degree week arrives in May, that’s your signal to check outdoor hose bibs and irrigation backflow preventers. When the National Weather Service issues its first freeze watch in November or December, that’s your signal for the full winterization protocol. When the first heavy rain follows a dry spell of six weeks or more, that’s your signal for foundation and drainage checks.
Here’s what a trigger-based annual rhythm looks like for Austin:
- First 90°F week (usually early-to-mid May): Check outdoor spigots, irrigation lines, and expansion tank pressure. Heat causes rubber washers and seals to degrade faster.
- First freeze watch (usually November or December): Full exterior pipe insulation, hose disconnect, and interior cabinet-door protocol.
- First heavy rain after a 6+ week dry spell (any time, most often late summer or early fall): Check foundation perimeter for pooling, inspect slab penetrations, and test sump pump if you have one.
- After any hailstorm or high-wind event: Check roof penetrations, vents, and skylights for impact damage that could admit water during the next rain.
- Anniversary of your last major plumbing repair: Re-inspect the same system. Repairs cluster; if a water heater failed once, its replacement has a known lifespan too.
In our 20 years of Water Damage Restoration in Austin, the homes we’re called to after preventable failures almost always skipped the trigger that preceded the loss. A homeowner noticed the water pressure was low. A homeowner heard a faint hiss behind the toilet. A homeowner saw a rust stain on the garage floor. Each of those is a trigger. Learn to respond to them.
The 5-Minute Monthly Walkthrough
This is not an inspection. It’s a walkthrough. You’re not disassembling anything or needing tools. You’re building a mental baseline for what your home looks, sounds, and smells like when it’s dry, so you notice quickly when something changes. Set a recurring calendar reminder on the first of each month. Five minutes, every time.
Here’s the routine, in order:
- Water meter check (30 seconds): Note the reading on your water meter before you go to bed one night, then check it again first thing in the morning before anyone uses water. If the number changed and no one flushed or ran a tap, you have a leak somewhere. This single step catches more hidden slab leaks than any visual inspection.
- Under-sink supply lines (90 seconds): Open both kitchen and bathroom cabinet doors. Look at the supply lines where they connect to the shutoff valves. You’re looking for any discoloration, mineral deposits, or dampness on the cabinet floor. Feel the braided steel lines with your hand. Dry? Good. Any wetness, even a sheen, is a fail.
- Toilet bases (60 seconds): Press gently against both sides of each toilet with your knee. A toilet that rocks or shifts has a failing wax ring. Also run your finger under the tank-to-bowl connection. Any moisture indicates a tank bolt gasket failing, and this is a slow leak that rots subflooring invisibly.
- Ceiling scan (60 seconds): In each room, look up. Water stains on ceilings are usually yellow, brown, or copper-colored. They may look old. But any stain you haven’t noticed before means water is still finding a path somewhere above.
- Water heater area (30 seconds): Look at the floor around your water heater. Rust flakes, puddling, or a musty smell means the tank or its connections are failing. Check the temperature-pressure relief valve drain pipe for any signs of dripping.
That’s it. Five actions. Half an hour a year. And in our experience, it catches 80% of the preventable water losses we see at Marsh Water Damage Austin home calls. The walkthrough works because it builds pattern recognition. You’re not looking for a specific problem. You’re training yourself to notice when something deviates from normal.
Supply Line Failures: The Real Leading Cause
Here’s the statistic that surprises most homeowners: in the Austin metro area, supply line failures under sinks and behind toilets account for more water damage claims than any weather event. Not hurricanes, not flash floods, not frozen pipes. The small-diameter flexible lines that connect your home’s plumbing to its fixtures are the most common failure point, and they’re also the easiest to inspect.
Why do they fail so often? Three reasons. First, rubber washers inside the coupling degrade over time, especially in Austin’s hard water, which leaves mineral deposits that accelerate wear. Second, original equipment supply lines in homes built before 2000 were often made of polybutylene or low-grade rubber, materials with a 15-to-20-year service life that’s now well past for many Austin homes. Third, during our freeze events, supply lines are the first components to fail because they hold a small volume of water that freezes faster than the main plumbing lines.
Here’s what to look for on any supply line in your home:
- Braided stainless steel lines: These are the gold standard and last 20+ years if installed correctly. Check for kinks, corrosion at the crimp fittings, and any visible rust spots on the braiding.
- Plastic or polybutylene lines (gray or white plastic): These are end-of-life. Replace immediately. Polybutylene was used heavily in Austin construction from the late 1970s through mid-1990s and is now a known failure risk.
- Copper flex lines: Durable, but the flare fittings can work loose over time. Check for any green oxidation at the connection points.
- Rubber lines: Should not exist in any modern installation. Replace immediately.
A supply line replacement costs $15 to $60 for parts and takes 30 minutes for a homeowner with basic plumbing skills. The average water damage claim from a supply line failure in Austin runs between $4,000 and $12,000 once you factor in water extraction, drying, and reconstruction. That’s a return on investment no other maintenance item can match.
Austin’s Pre-1990 Homes: Cast Iron and Galvanized Lines
Austin’s housing stock is older than most people realize. Neighborhoods like Hyde Park, Bouldin Creek, Travis Heights, and Crestview are full of homes built between 1920 and 1980, and those homes share a common plumbing vulnerability: cast iron drain lines and galvanized steel supply pipes. These materials were standard in Texas construction for decades, and both have predictable failure timelines that many homeowners are now hitting.
Galvanized steel supply lines are the more urgent concern. These pipes carry your pressurized water supply, and they fail from the inside out. As the zinc coating inside the pipe erodes over 40 to 60 years, the exposed steel rusts, and the pipe diameter shrinks from mineral scale buildup. That process is invisible from the outside, which means the first sign is often not a leak but low water pressure throughout the house, especially in second-floor fixtures. The failure happens when the pipe bursts at a threaded joint or a pinhole leak forms in a thinned section. In our restoration work across Austin, we regularly see galvanized lines in homes built before 1965 that are within months of a catastrophic failure.
Cast iron drain lines fail differently. These pipes carry wastewater away, and they’re not under pressure, so they fail gradually. The cast iron corrodes from the inside, the pipe wall thins, and eventually a crack forms. The signs include gurgling drains, slow drainage in multiple fixtures at once, sewage odors in the yard or under the house, and visible rust spots on exposed drain pipes in the garage or crawl space.
If you own a pre-1990 home in Austin, here’s your inspection protocol:
- Locate your service entrance. Find where your water main enters the house. If the pipe is galvanized steel (gray, threaded, magnetic), schedule a plumbing assessment.
- Check visible pipes in the garage, utility room, or crawl space. Look for rust stains, flaking metal, or mineral deposits at joints. These indicate active corrosion.
- Run a water pressure test. Home improvement stores sell pressure gauges for under $20. Connect it to a hose bib and turn on the water. Residential pressure should be 40 to 80 psi. Low pressure in an older home often means galvanized supply lines are failing, not a municipal supply issue.
- Get a camera inspection of drain lines. Plumbers can run a camera through your cast iron drain lines to check for scale buildup, cracking, and bellies. This costs between $200 and $450 in Austin and tells you exactly how much service life remains.
This is not an item to defer. When a galvanized supply line bursts inside a wall or under a slab, the damage is often discovered only after water has been running for hours or days. The Water Damage Restoration in Austin work that follows is extensive: breaking through slab, extracting water, drying the structure, and rebuilding, with costs routinely hitting five figures.
The Freeze Watch Protocol (Austin’s Distinct Winter Risk)
February 2021 changed how every Austin homeowner thinks about cold weather. The temperatures were extreme, yes, but the damage was amplified by something specific to our region: our homes are not built for sustained freezes. Pipes are not insulated to northern standards. Exterior hose bibs are often not frost-proof models. And because freezes here are rare, homeowners don’t have the muscle memory that a Dallas or Houston homeowner might, let alone a Chicago homeowner.
Austin’s freeze risk is different from other Texas cities in one key respect: our topography. Austin sits on the Balcones Escarpment, and our elevation changes mean pockets of the city freeze harder and longer than others. West Austin neighborhoods at higher elevation consistently see lower temperatures than East Austin during the same event. When the National Weather Service issues a freeze watch for Travis County, it pays to assume your home will see the worst-case temperature, not the average.
Here’s the freeze watch protocol for Austin. Complete these items when the first freeze watch is issued, typically in November or December, and again before any cold event where temperatures are forecast to stay below freezing for more than 12 hours:
- Disconnect all garden hoses. A connected hose traps water against the hose bib and freezes back into the wall pipe. This is the single most common freeze-related pipe failure we see.
- Insulate exterior hose bibs. Use foam bib covers, available at any Austin hardware store for $5 to $10. Or wrap the bib in a towel and secure it with a zip tie. The goal is to trap heat radiating from the house.
- Open cabinet doors under sinks on exterior walls. Kitchen and bathroom sinks on the north side of your home have supply lines running through exterior walls. Opening the cabinet doors lets warm indoor air circulate around those pipes.
- Drip faucets on exterior walls. A slow drip, one drip every second, keeps water moving through the pipe and makes freezing less likely. Drip both hot and cold taps if you have a two-handle faucet.
- Locate your main water shutoff valve. You need to know where this is before an emergency, not after. In most Austin homes, it’s in the front yard near the meter, or in the garage near the water heater. Mark it clearly. If a pipe does freeze and burst, the first person to shut the water off limits the damage by thousands of dollars.
- Consider heat tape for exposed pipes. Pipes in uninsulated garages, crawl spaces, or exterior utility closets benefit from self-regulating heat tape. This is a $30 to $60 DIY project per pipe.
During and after a freeze, know the signs of a frozen pipe: no water flow from a fixture, frost on exposed pipes, strange odors from the drain, or the sound of water running when all fixtures are off. If a pipe does burst, shut off the main water valve immediately, then call for professional extraction. Frozen pipe damage is not something to dry out with towels and fans. The water has likely migrated into wall cavities and floor systems, and Water Damage Restoration in Austin requires commercial drying equipment to prevent mold growth that follows within 48 to 72 hours.
Post-Drought Re-Saturation: Clay Soil and Slab Cracks
This is the maintenance item that no generic national checklist includes, and it’s arguably the most Austin-specific water damage mechanism there is. Austin sits on expansive clay soil, the Blackland Prairie soil that dominates the eastern half of our metro area. This soil shrinks dramatically during dry periods and swells when water returns. The cycle is extreme here: our summers produce six to ten weeks of near-zero rainfall, and when the first heavy rain finally arrives, the soil can expand by several percentage points within days.
That expansion puts hydraulic pressure on concrete slab foundations. Foundation movement itself is a structural concern, but the water damage angle is more subtle. When the soil expands and shifts, slab penetrations, the points where plumbing pipes pass through the concrete foundation, can crack. Those cracks create pathways for groundwater to seep into the slab during heavy rains, and for pressurized water to escape from supply lines if the shifting soil puts stress on the pipes.
Here’s what to check after Austin’s first heavy rain following a six-week or longer dry spell:
- Walk the foundation perimeter. Look for water pooling against the house. Pooling near the foundation for more than a few hours after a rain means your grade is negative, sloping toward the house, and water is being directed into the soil right at the slab edge.
- Check interior slab penetrations. In the garage, utility room, or wherever plumbing enters through the slab, look for dampness, efflorescence (white powdery mineral deposits), or any sign of moisture wicking up through the concrete.
- Inspect your downspouts. Austin building codes require downspouts to discharge at least 5 feet from the foundation, but many homes have them terminating right at the slab edge. Extensions are $20 to $40 each and are the cheapest drainage improvement you can make.
- Look for new drywall cracks. In the weeks after heavy rain follows drought, foundation movement shows up as diagonal cracks running from door and window corners. These are normal in Austin homes to some degree, but new or widening cracks after a rain event indicate the soil is moving aggressively.
- Check your irrigation system backflow preventer. These devices are above ground and exposed. A crack from soil movement or freezing can spray hundreds of gallons into your yard and foundation before you notice.
In our restoration work, we see a distinct pattern: the week after Austin’s first heavy rain in September or October, we get a cluster of calls from homeowners whose slab leaks became suddenly apparent. The soil re-saturation didn’t cause the leak; it revealed a pipe that was already failing, often a cast iron drain line or a galvanized supply line that cracked during the soil movement. This is why the post-drought check matters. It’s your earliest possible detection window.
Appliance and Fixture Checks Most Checklists Miss
Supply lines and foundations dominate the failure list, but several other water damage sources in Austin homes get overlooked simply because they’re not visible or don’t announce themselves until they fail. These are the checks to add to your annual routine, because when these items fail, the damage is often already extensive before you notice.
Washing machine hoses: The hoses connecting your washing machine to the wall valves are rubber in most homes and are rated for about five years of service. They’re under pressure 24/7, even when the machine isn’t running. The failure mode is sudden and complete: the hose bursts, and water flows at 5 to 8 gallons per minute until someone shuts it off. If that happens while you’re at work or asleep, you’re looking at thousands of gallons. Replace rubber washing machine hoses with braided stainless steel versions, a $30 to $50 fix, and replace the braided lines every ten years.
Water heater: Tank-style water heaters have a service life of 10 to 15 years in Austin’s hard water conditions, which are among the most mineral-heavy in the country. As the tank ages, sediment accumulates at the bottom, the tank wall thins, and eventually a pinhole leak or seam failure occurs. Check the age of your water heater now: the manufacture date is encoded in the serial number on the rating plate. If it’s over 12 years old, plan for replacement before failure, because when a water heater fails, the water is already under pressure and the tank can empty 40 to 50 gallons into your home.
Ice maker lines: The thin plastic or copper line running to your refrigerator’s ice maker is a known weak point. It’s exposed, it’s under constant pressure, and it’s often kinked or pinched behind the refrigerator. Replace plastic ice maker lines with braided stainless steel, and check the connection every time you deep-clean the kitchen.
Dishwasher connections: The water supply line and drain hose to your dishwasher sit under the unit and are out of sight. Leaks here run under your floor, not across it, so they cause subfloor rot long before you see any water. Once a year, run a paper towel along the floor in front of the dishwasher after a cycle to check for moisture.
Hose bibs and outdoor spigots: Austin’s freeze-thaw cycles are brutal on exterior fixtures. Even if you disconnected your hoses before a freeze, the bib itself may have cracked internally. The leak may not be visible until you turn on the spigot in spring and water gushes into the wall cavity. When you turn on your hose bibs for the first time each spring, go inside and listen at the wall while the water runs. Any sound of running water behind the wall means a cracked pipe.
Bathroom caulking and grout: The seal between your shower or tub surround and the surrounding walls and floor is the only thing preventing water from getting behind the tile. Failed caulking is invisible water damage waiting to happen. Re-caulk any shower or tub when the caulk starts to peel, crack, or show signs of mold that can’t be cleaned.
These checks take less than an hour per year when done systematically. The Storm Damage Restoration in Austin projects we handle frequently begin with a failure that a simple visual check would have caught. If you’ve experienced any of these failures before, check the replacement system on the same schedule, because a repaired system is not the same as a new one.
Common Mistakes to Avoid
- Ignoring the water meter test because it’s “too slow.” The overnight water meter test takes 30 seconds and catches more hidden leaks than any other single method. Skipping it means you’re flying blind between visible failures. In Austin’s clay soil, a slab leak can run for months without showing a single visible sign indoors.
- Dripping faucets only on the side of the house that faces north. Freeze damage doesn’t respect compass directions. In Austin’s variable topography, cold air settles into low spots regardless of orientation. Drip every faucet on any exterior wall when temperatures fall below 25°F.
- Leaving exterior hoses connected “just for one more week” after the first freeze watch. One more week is exactly when the freeze hits. Austin’s first freeze watch often comes weeks before the first actual freeze, and the hoses you meant to disconnect are frozen solid when the temperature finally drops.
- Using chemical drain cleaners to deal with slowing cast iron drains. These products corrode cast iron from the inside and accelerate the failure you’re trying to avoid. A slow drain in an older Austin home is a signal to get a camera inspection, not to pour chemicals down it.
- Assuming a home warranty covers water damage from supply line failures. Home warranties cover the cost of repairs to covered appliances and systems, but they typically do not cover the resulting water damage to walls, floors, and contents. Read the fine print before you need it.
- Waiting for visible water to confirm a leak. By the time water is visible on a floor or ceiling, the damage has been underway for days or weeks. The entire point of this checklist is to catch failures at the earliest possible signal, not at the cleanup stage.
- Painting over water stains without addressing the source. A ceiling stain means water is or was present. Painting over it hides the evidence but doesn’t fix the leak, and the mold that may be growing in the cavity behind the drywall doesn’t care about your paint job.
When to Call a Professional
Some situations call for professional help, and the threshold is lower than most homeowners think. If your water meter shows usage when everything is off and you can’t find the source, call a leak detection specialist or plumber with acoustic leak detection equipment. If you see water staining on a ceiling or wall and don’t know the source, call a water damage restoration company before you cut into anything; the source may be a roof leak, a condensation issue, or something inside the wall, and opening the wrong area makes it worse. If you’ve had a water event and water has sat for more than 24 hours, never attempt to dry it with household fans; mold growth starts within 48 hours, and you need professional-grade drying equipment. If you suspect a mold problem after any water event, Mold Remediation in Austin requires training and containment protocols that DIY approaches can’t match. Marsh Water Damage Austin offers free estimates in Austin, and you can call (361) 315-6142 any time. A live person answers. We’ll tell you exactly what we’re seeing, what it costs, and what’s in writing before any work starts.
Frequently Asked Questions
Once a month, overnight. Note the reading before bed, check it again first thing in the morning before anyone uses water. If the number changed and no one ran a tap or flushed, you have a leak. This is the single most effective leak detection method for Austin homes with clay soil, where slab leaks can run invisible for months. Call (361) 315-6142 if the test reveals a leak and you need help finding it.
In Austin, look for warm spots on floors (hot water line leak), the sound of running water when all fixtures are off, unexplained increases in your water bill, and new or expanding drywall cracks. In our clay soil, slab movement during drought and rain cycles stresses pipes and creates the conditions for slab leaks. A water bill spike of $50 or more in a single month without a corresponding change in usage is often the first signal.
Yes. Newer Austin homes built to current code are better insulated than older stock, but the February 2021 freeze caused pipe failures in homes of every age, including new construction. The issue is not just the cold; it’s the duration of the freeze. Austin’s building codes are based on historical averages that are changing. The drip and insulation protocol applies to every home in the metro area.
Polybutylene pipes are gray or white plastic, usually 1/2″ or 3/4″ diameter, and often stamped with “PB” along the side. They were used in Austin construction primarily from 1978 to 1995. If you find them in your home, plan for replacement. The material has a known degradation profile that causes unexpected bursts, and no amount of inspection can predict when a specific section will fail.
Three things. First, Austin’s clay soil demands specific attention to foundation drainage and slab penetrations after drought periods. Second, Austin’s hilly topography means freeze severity varies by neighborhood, so treat every freeze watch as worst-case. Third, Austin has a large stock of pre-1990 homes with galvanized and cast iron plumbing that’s now reaching failure age, making supply line inspection a higher priority than in newer cities like the Dallas suburbs.
Most homeowner policies cover sudden and accidental water damage, like a burst supply line, regardless of maintenance history. But slow leaks, leaks that have been ongoing for weeks or months, and flooding from outdoor water sources are typically excluded. Insurers look at the pattern: a sudden pipe burst is covered; a leaking pipe that rotted the floor over six months is usually not. Document your maintenance checks, and if you have doubt about a specific situation, call (361) 315-6142 and we’ll tell you honestly what we see.
The Bottom Line
The homes we live in across Austin face water damage risks that are specific to this city: clay soil that moves, freeze events that shatter pipes, aging cast iron and galvanized lines, and supply line failures that strike on ordinary Tuesday afternoons. The trigger-based checklist in this guide is built for those realities. Do the 5-minute monthly walkthrough. Respond to the triggers: first 90-degree week, first freeze watch, first heavy rain after drought. Check your water meter monthly. Replace aged supply lines before they fail. The cost of prevention is measured in tens of dollars and minutes. The cost of restoration is measured in thousands of dollars and weeks of disruption. In Austin, the difference comes down to paying attention.
Written by Tobias Reyner, Owner at Marsh Water Damage Austin, serving Austin since 2005.
See the difference
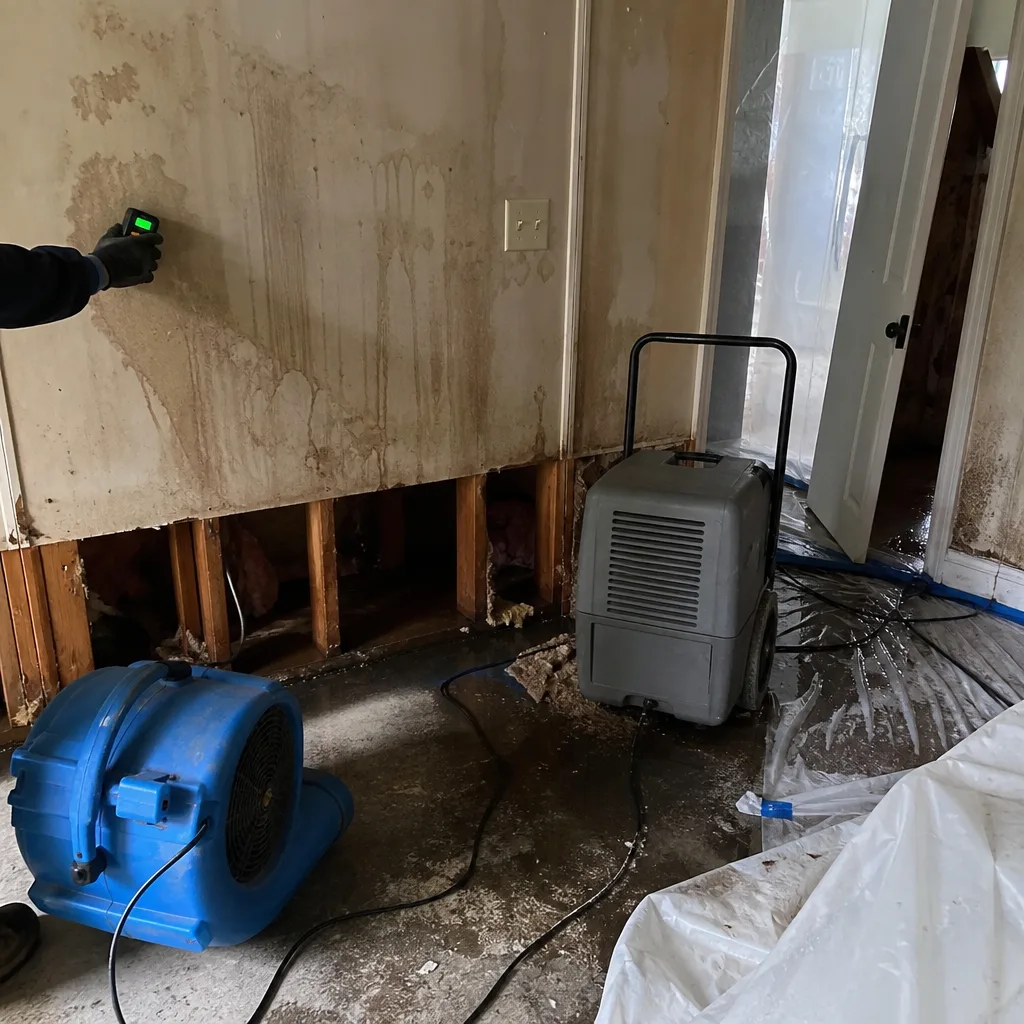 Before
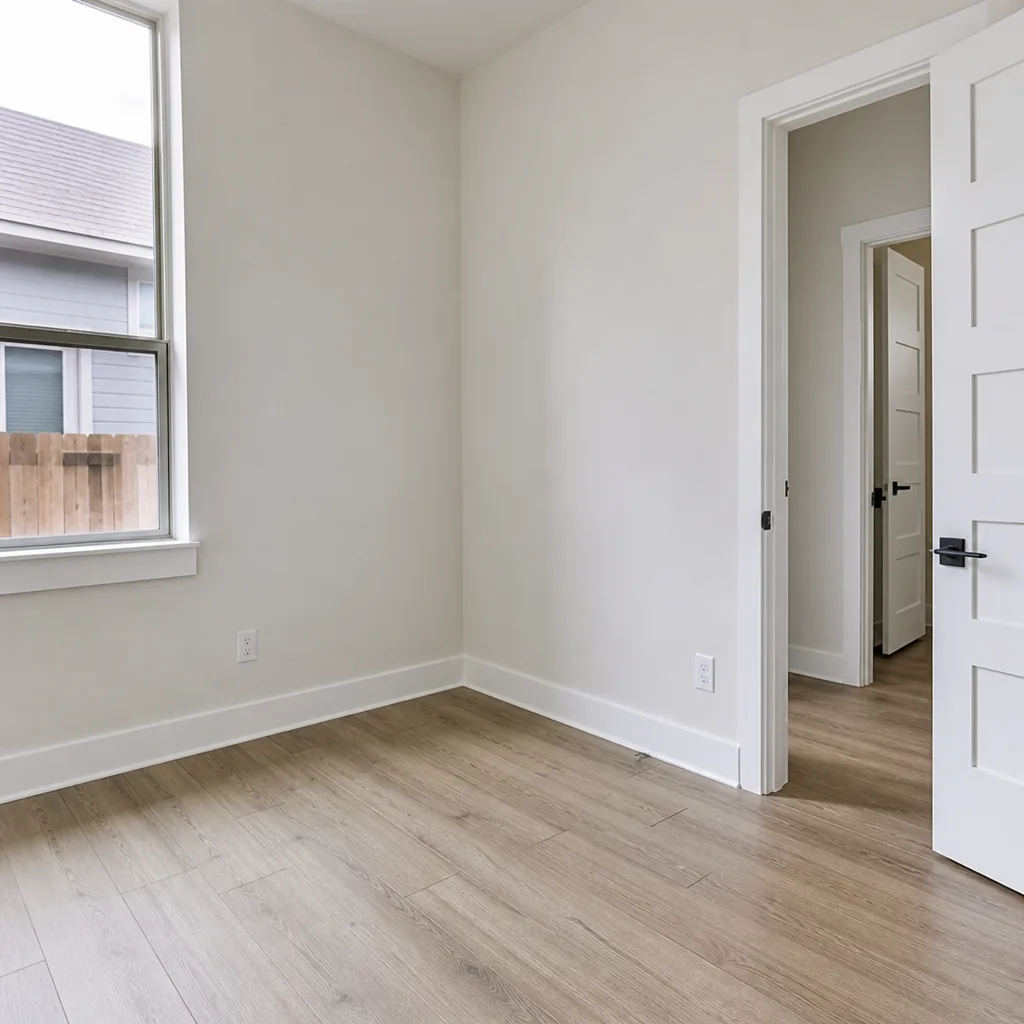 After
After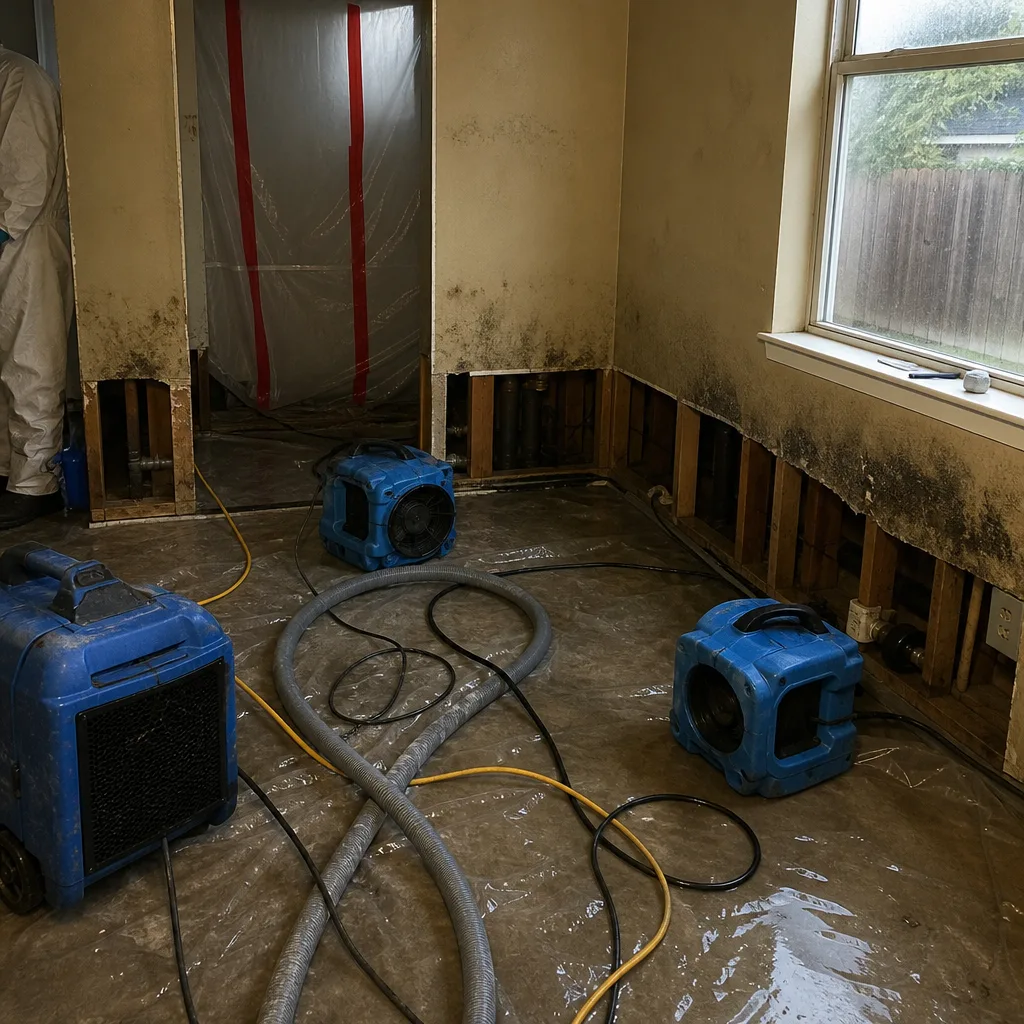 Before
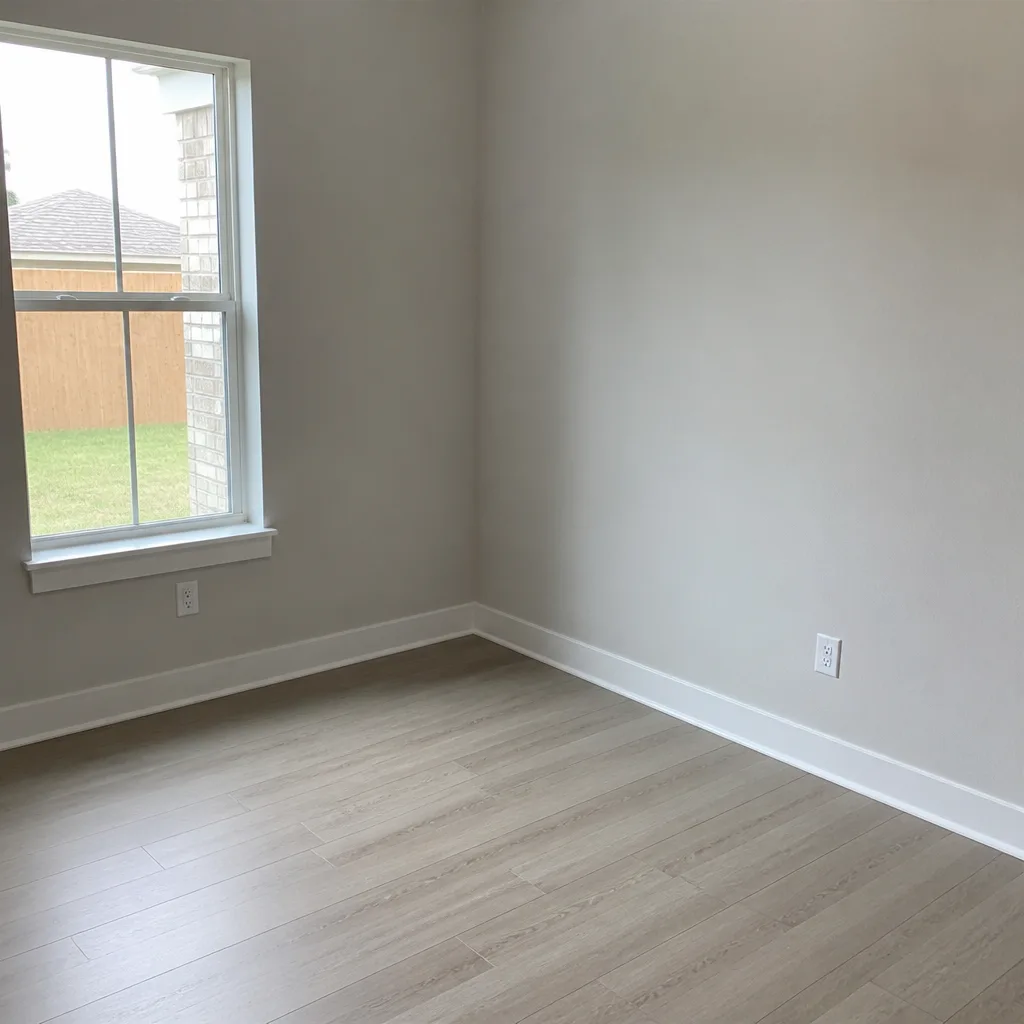 After
After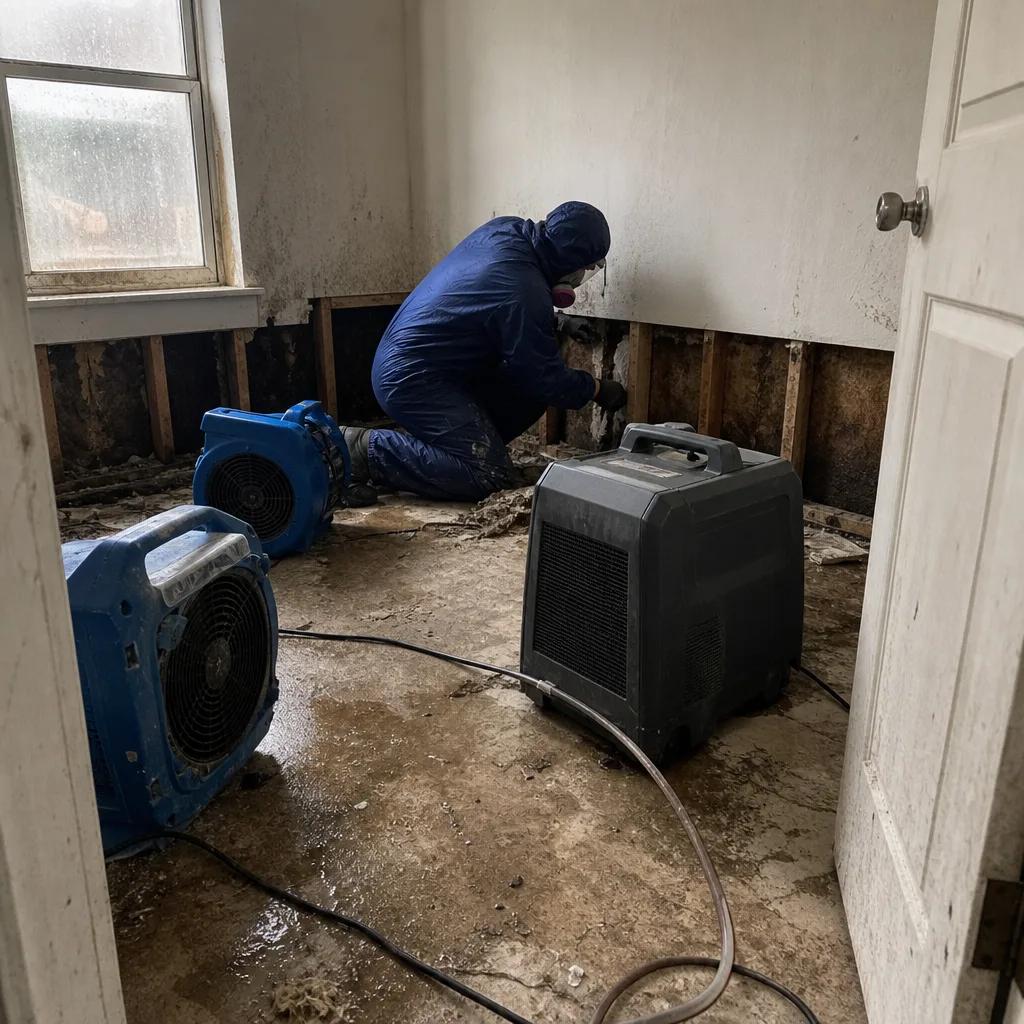 Before
 After
After